Part Three: THE BODY CAN BE FRAIL
Bodymovin is not a silver bullet. It’s software that’s actively in development and often takes some trial and error to get the desired result. Some functions simply won’t work. When reviewing a design prior to animation, being able to quickly triage design elements as things that will be best served as vectors or raster images becomes second nature. Raster-based effects, some expressions, video and audio files aren’t supported. But with proper planning and some clever thinking, we’ve been able to work around all of these limitations to create great results. Here is a list of some common limitations we run into, and how we work around them.

Gradients/Effects have very limited support. This can be the biggest roadblock when starting out. We’ve found the best solution to be rendering out necessary effects as static images. For a flickering neon sign, we simply had two version of the image, an on and an off variant, and quickly faded between them to simulate the fluctuating glow.
Expressions aren’t working as anticipated after export. While some expressions work as expected, those specific to After Effects aren’t. Check out the documentation for more information. A quick and easy solution we’ve found is the oft-overlooked method of converting expressions to keyframes. It can really get you out of a pickle.
Text is showing up in the wrong size/incorrectly. By default, the option to outline text before rendering to the JSON animation is on. This is useful, but can be time-consuming and if you have a block of text with different sizes, it will export it incorrectly. The fastest and most reliable way we’ve found to deal with text is to use the Create Shapes from Text command on each text layer before sending it through Bodymovin’.
I’ve got this great HTML file. Now what…? When it comes to final delivery, each ad network requires something a little different. It usually involves copying and pasting a line of code into the HTML file, and editing a parameter or two. Contact your vendor for the requirements.
As you can tell, this workflow is not a simple turnkey solution. There’s some trial and error. But putting in the time to learn this new skill set, with its strengths and weaknesses, can open up a world of delivering animations in an entirely new way, and open up a dearth of creative opportunities. Go forth, create, and be sure to share what you make with us, we can’t wait to see the great things you make!
Part Two: SHAPE LAYERS, RASTER IMAGES, AND YOU
The narrative around After Effects shape layers has been changing. Once thought of as an afterthought by many, the rise of flat, friendly, human-readable design has lead to an explosion of great, interesting works built on the back of these beautiful vector assets. This is a boon for us because Bodymovin works best with Shape Layers. We’ll cover raster images in a little bit, thinking of and designing these ads as vector project guarantees success.


Vector art imported as shape layers are beneficial due to the fact that it’s saved out directly in JSON file, without the need for additional external files for reference. This keeps your final file very compact, some coming in at just a few dozen kilobytes. In an industry notorious for large file sizes, seeing a full animation in a file that small felt unreal at first, and in many ways still does.
Shape layer features like path trims, animated fill colors, and path animation are fully supported, which open up a wide range of animation opportunities. For importing art, tools like Battle Axe’s Overlord or Zack Lovett’s Explode Shape Layers are a wonderful option. Overlord specifically allows seamless import directly from Illustrator in a single click, and has reduced much of the pain that used to be associated with cleaning up and importing vector files.
Vector art isn’t always viable. Sometimes, a brand or piece of art direction demands the use of photography. When these needs arise, Bodymovin supports use of PNG and JPG images. Always keep file size in mind when using raster images. Our ad networks require the final animation to be compressed, with images, into only 150 KB. This demands that you always be strategic about the kind of images you use. Before importing an image, be sure to process it in the most efficient way possible. Save out compressed JPGs, and for simple transparency, you can use a mask instead of relying on a larger PNG. When PNGs are a necessity, export them as 8-bit files at only the size you’ll need. Compression software, like ImageOptim is a great, streamlined, open source tool that can shave every possible byte off of a file.
You may be wondering: Wait, what about effects? Drop shadows, animated textures, video files and the like? Currently, those aren’t supported, and we’ll cover some of that in part three. But with some clever thinking and careful asset management, you’ll be impressed with how far you can get with this limited toolset Bodymovin supports.
In summary:
- Vector art is ideal
- Simplify your workflow with tools like Overlord or Explode Shape Layers
- Use raster images in cases where vector art won’t do, but know each one can add a lot of relative size to the final deliverable
- Tools like ImageOptim work great at taking JPGs and PNGs down to size a little bit
Click here to move onto Part Three!
Part One: HOW BODYMOVIN CHANGED OUR APPROACH
 With Bodymovin’, our design team felt empowered. Suddenly, their designs weren’t being recreated. The animations were being exported exactly as they were designed. The artist was using their usual tools, in a similar process that they’re used to. Revisions could take place much more quickly, which allowed for more extensive iteration while involving fewer people.
With the export taking place directly out of After Effects, our animators and art directors could achieve their vision with less compromise due to technical limitations. Animation tools like the speed and value graph, some blending modes, and full position, scale, rotation and opacity controls are fully supported by Bodymovin’. While it sounds like a limiting list, the possibilities are extensive. Don’t just take my word for it; check out Bodymovin’ developer Hernan Torrisi’s Codepen page for some great inspiration.
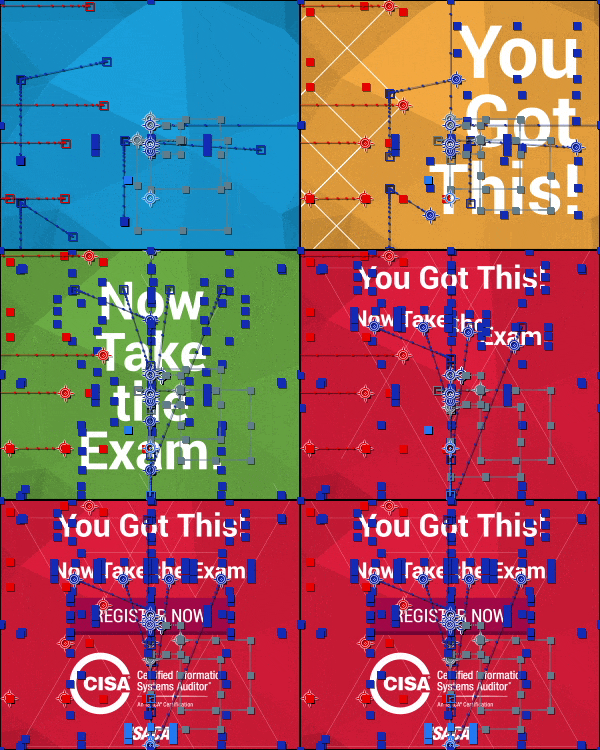
Over a few years, we’ve refined our process. It starts with a designer creating static renditions of the ads. This may act as a simple reference or be treated as styleframes/storyboards. With that content locked in, the art is then prepped for import into after effects, either as shape layers or through compressed image files (this process took much trial and error and is covered extensively in part two). At this point, animation begins. Review the supported feature documentation for an idea of what is possible. Of course, extension is in active development, and this list changes relatively frequently.
With animation complete, the export begins. Open the Bodymovin extension in After Effects, select your comp, alter your settings, and export. In the setting department, for display ads we always export with a Demo file, which kicks out a self-contained HTML file with the player and the JSON animation wrapped together. There is a little work we then do to the HTML file, but that’s covered in part three.
In summary:
- Maintain creative control and keep things very art-directable
- Spend fewer cycles building, spend more time on iterating creative ideas
- Create smoother animation, utilizing full AE speed/value graphs and keyframes
- Use a familiar, artist-friendly tool
Click here to move on and read Part Two!
A motion designer’s guide to creating great display ads directly inside After Effects
Introduction
Creating great animated display ads always used to be a bit of a crapshoot. Our old system would look like this:
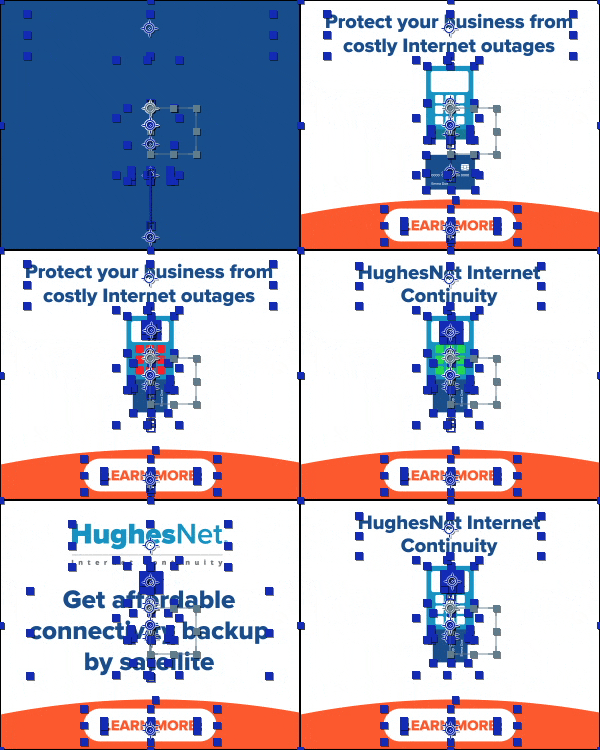

- Designer creates static ads that look wonderful.
- Hands off to animator, who uses their extensive After Effects expertise to create beautiful animations.
- Send those video files to our development team, who would do their best to recreate the work using web-friendly animation standards.
- Animators would send feedback, and repeat the cycle until everything looked ‘good enough’, but never captured the full energy that existed in the initial animation.
- Repeat this over for all of the various ad sizes, while using up a ton of development team’s time.
If you’re thinking that sounds like a bit of a mess, you’d be right.
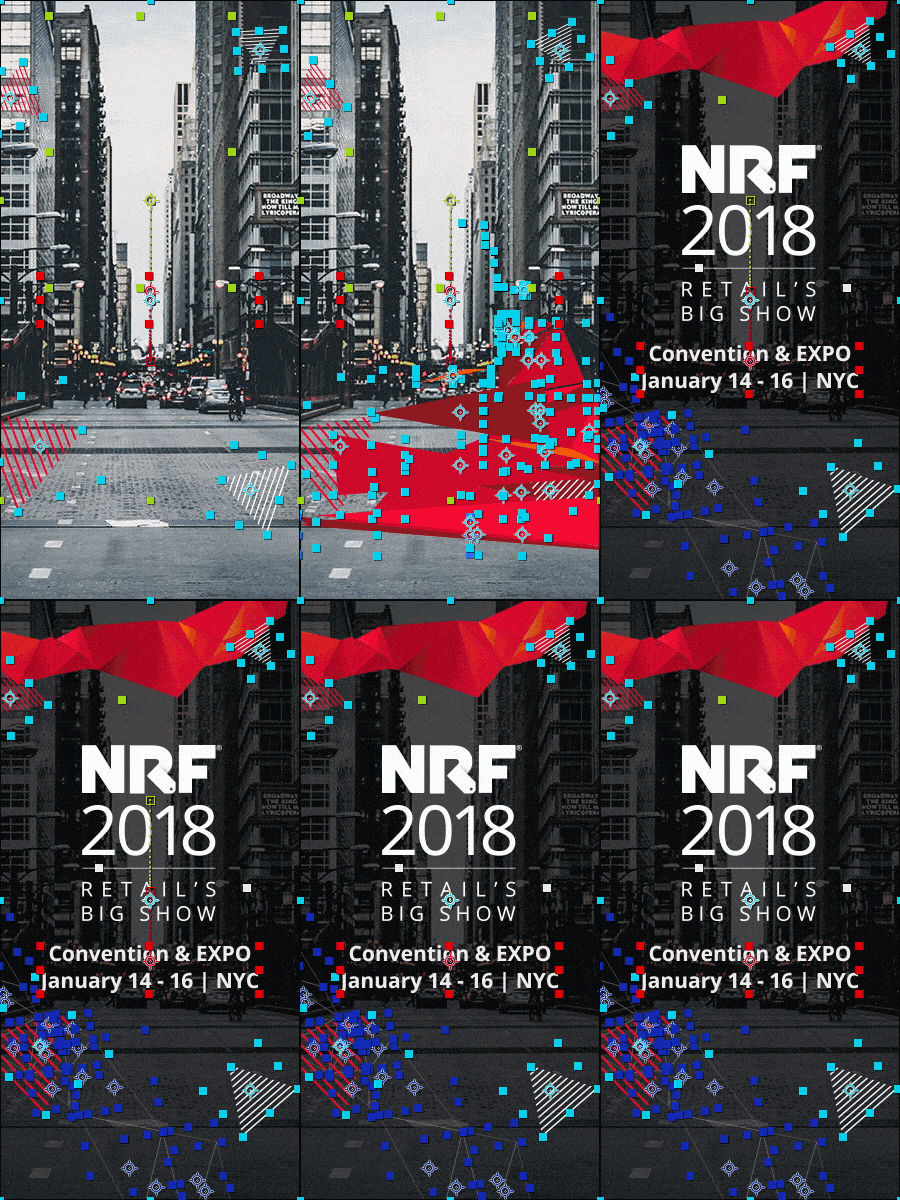
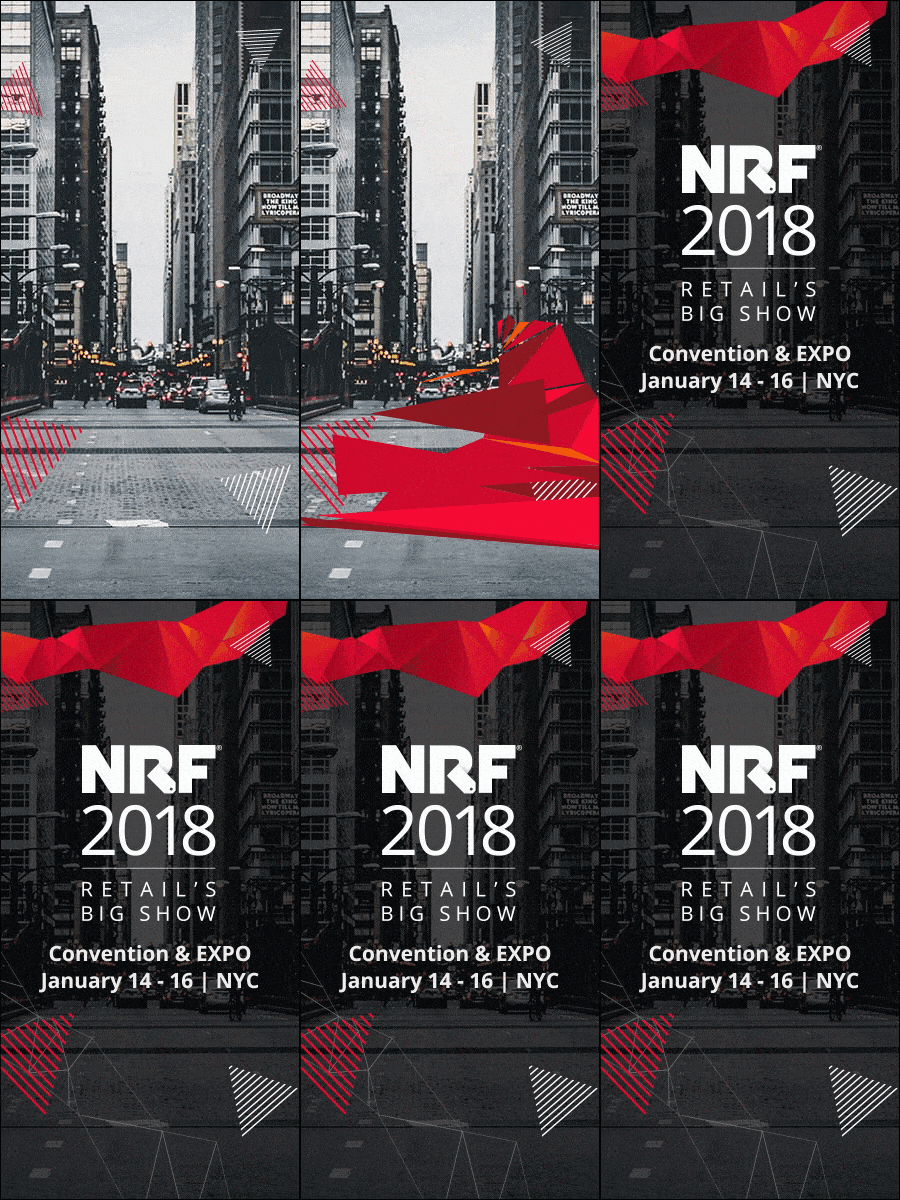
About two years ago, we found Bodymovin. This pay-what-you-want AE extension allows our team to export vector art animations directly out of After Effects as JSON animations wrapped up in an HTML file. Our team immediately saw huge potential to create high-quality work with more polish, utilize fewer resources, and turn around work for our clients much faster than we could in the past. We could create full animation that played back at full speed and a tiny file size, without dealing with the compromises of a GIF’s large file size or stuttery playback. This could apply to modules built for websites, interactive experiences, or most interestingly, display ads.
In part one, we discuss how this toolset allowed us to change our strategy for display ad design and animation. Part two delves into our refined process for importing and asset management. And we explore some common pitfalls we found and how we worked around them in part three.
Cool? Let’s dive in. Click here for Part One.